

Weaving Workshop
Weaving, also known as "shuttle weaving", is a process in which yarn is used as warp and weft to form woven fabrics according to various fabric structures. It is an important part of the textile industry. The development of weaving technology has a history of more than 5000 years. It has gone through the stages of original weaving, hand weaving, automatic weaving and shuttleless weaving.
In 1785, British mechanical engineer E.Cartwright tried to mechanize the hand movements of opening, picking, beating, and rolling, showing the possibility of mechanized weaving. The practical loom, designed by R. Roberts in the early 19th century, is the foundation of modern shuttle loom.
In the field of cashmere production nowadays, weaving is mainly used to make cashmere scarves, shawls, blankets and other products. At the same time, a variety of yarns are also used, such as Nm. 1/15, 2/60, 2/80, 2/120, 2/200, etc. These different yarns give the scarf different style and thickness. With today's technology, we can even make a scarf as thin as several sheets of paper, or a cashmere blanket that can make you feel extremely warm during winter camping.
An ancient weaving machine

Our weaving workshop

Now, let me show you the process of weaving
1-Warping
In this step, we only arrange the warp yarns, they must be parallel to each other, and under uniform tension, that is purpose of warping. Yarns in different colors need to be arranged according to patterns, and winding on a reel.

2-Reeding
The yarn arranged on the reel goes through the hole in the middle of the shaft. In this way, the arrangement of warp yarns is fixed.
This step needs good eyesight of engineers because the hole is very small, no mistake allowed while ensuring efficiency.


3-Weaving
Now we can go weaving.
The principle of weaving is not complicated. When warp yarns in odd-numbered and even-numbered move up and down, the weft yarn insert at the same time. In this way, one woven process is complete. Basically, we need to repeat this process about 2500 times for a 180cm length cashmere scarf.

4-Fringing
This is a very interesting step, around 7~8 years ago, the fringing process is done by hand, you can imagine how hard the work is, also, due to the manual work, the consistency is not good for different productions. Now, machine replaced manual, every fringe follow the same standard.

5-Fabric Inspection
The finished cloth have to be inspected under lights, we will check the measurement based on the technology sheet, also, it's easy to see if there is any defects on the cloth.

6-Fulling
It involves two procedures, scouring(washing) and milling (thickening).
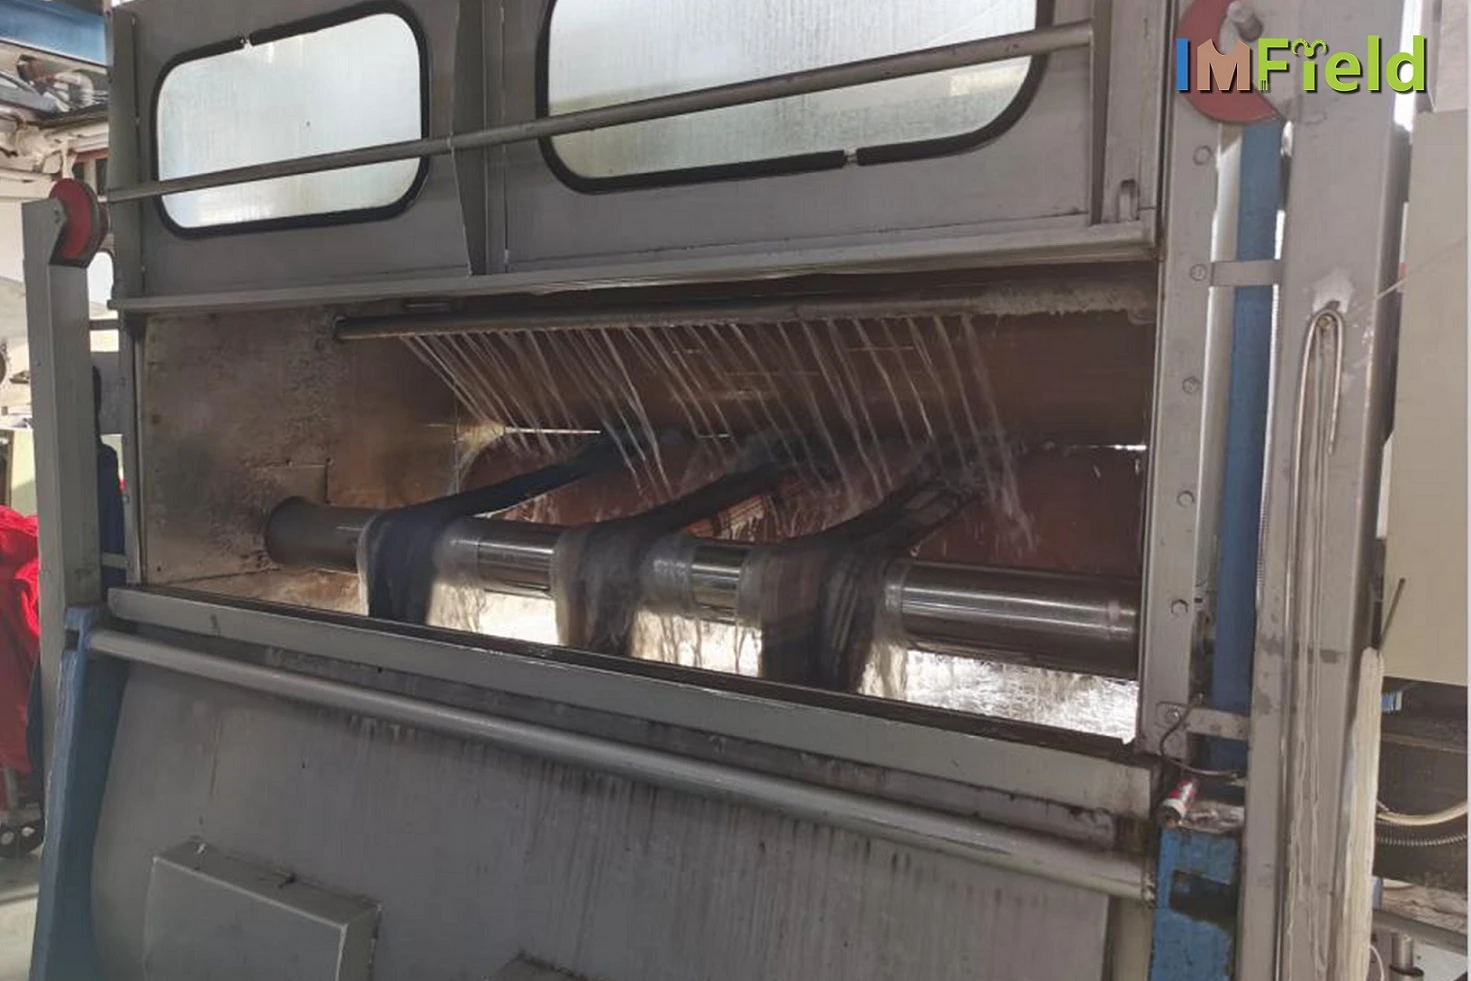

7-Dyring
From this step, there are several huge machines which have requirement for the size. The product must be in a fabric roll, and the minimum length is 60 meters, this is the reason why we can't make single piece sample. Also, the minimum width of the fabric is 1.2 meters and maximum width is 1.5 meters.

8-Brushing
There are two ways to raise the hair.
First is brushing without water: rotating cylinders which wrapped by steel cloth brush the cashmere fabrics to have fuzz on its surface.
The other is brushing with water: when we see ripple effect on the cashmere scarf, it's caused by a special natural plant which take place of the steel, we call Teaseling for this process, it makes a more luxury surface.


9-Decating
After drying, the shape of the scarf is unstable, and it needs to be steamed to shape, so that the size of the product is stable, the warp and weft position is fixed, and wrinkles, elastic yarn and curling can be removed, so that the surface of the scarf is smooth and elastic. At the same time, it also improves the feel and the shine of the scarf, giving it a natural, soft and long-lasting shine on its surface.

10-Inspection and Packaging


Packaging
Before packing, final inspection will be done to find whether we have missing inspected product, pick out the coarse hair, clean the surface, cut any excessive thread ends and so on.
